

Archviz Template
Welcome to the Archviz Template documentation and thank you for your purchase and support.
This documentation will help you understand how to work with the template and maximize its capabilities to help you deliver amazing projects.
First Steps
Create a project by going into Library/Vault and selecting Create Project on the ArchViz Template with VR icon.
Set your project name, then a new project will be added to My Projects section, launch from there.
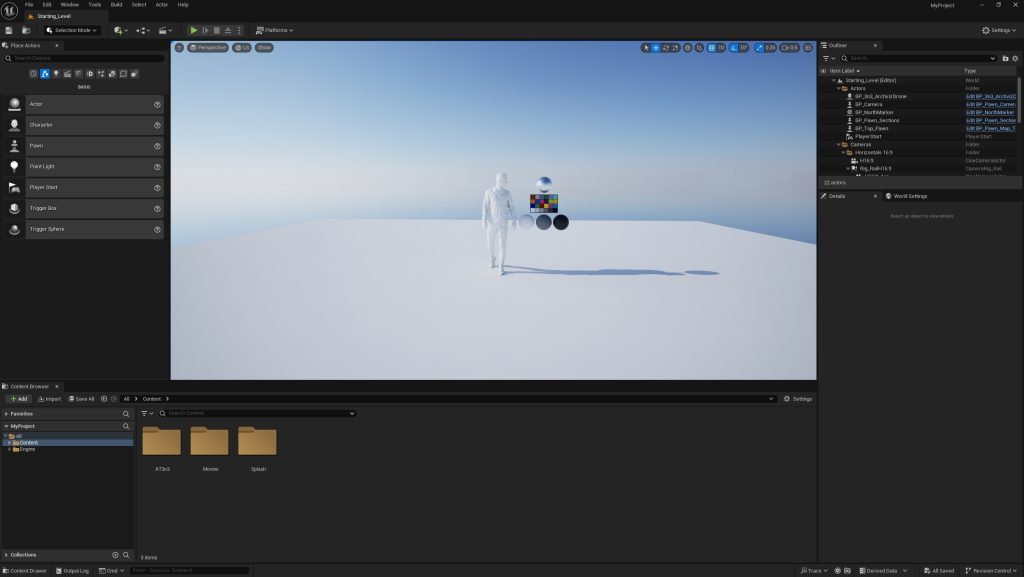
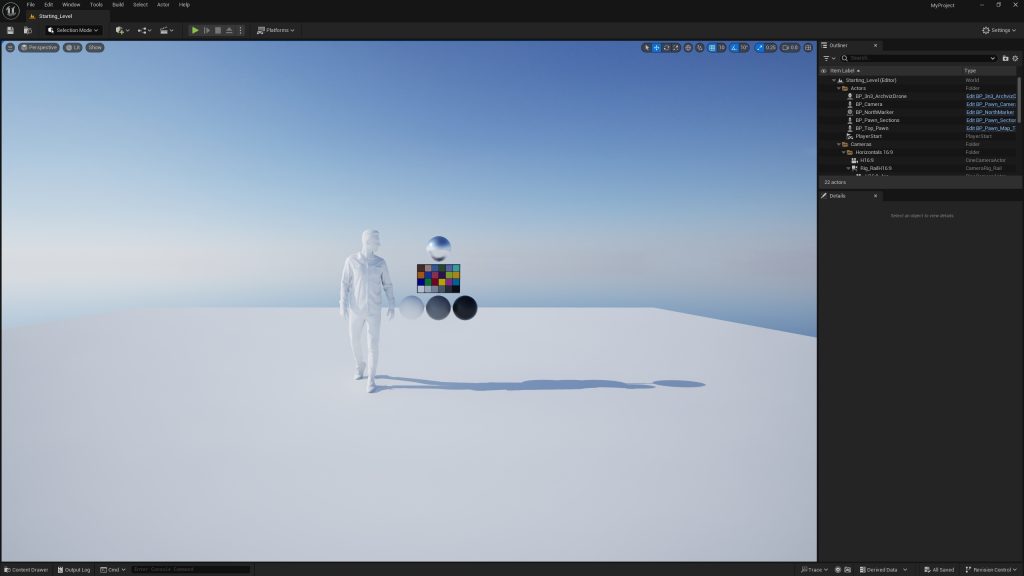
Depending on your layout configuration, your project will open like these two images.
Actors
This first Starting_Level is already set with all the elements you need to start working on your project immediately.
Actors:
- Drone Character;
- Camera Pawn;
- Sections Pawn (Orthographic views);
- Top Pawn (Aerial View);
- North Marker (For the Compass in-game).
Lighting and Effects:
- Blueprint Environment SunSky works similar to the one from Unreal but with added features like backdrops and HDRI;
- Post Process Volume.
Menu:
- A menu blueprint for adding huds to each character/pawn when starting the game.
Static Meshes:
- Exposure reference for helping you balance the light in your scene;
- Human for helping with scales.
Cameras DSLR:
- 16:9
- 1:1
- 9:16

Menu
Having the menu as a Blueprint is highly convenient as we’re able to modify text, images and videos directly in our scene, instead of going into widgets and messing around with nodes and values.
Background:
- Use Video If you want to play a video or not;
- Use Background If you prefer an image as a background instead of a video;
- Blur Strength Value from 0 to 100. Sets the background blur intensity;
- Background Image Choose the image for your background (A size of 1920×1080 or higher is recommended);
- Media Source Double-click to open and select the video you want to play in the background. Please note that you’ll need to add it to your Movies folder in your project, otherwise, it won’t play in the final game/build;
- Sound Base If you want to add and play a sound as background.
Gallery:
- Image Gallery Works as an array, you can add as many images as you need, just press the (+);
- Image Gallery Size Select the size of the image you need.
Header & Footer:
- In this section, you can add a logo and a couple of headers to the main menu just to describe the project. Leave blank if not needed.
VR Map:
- If your project has a VR level/map, this is where you need to link this level to the menu. Simply search for it on the drop-out. The default would be the Starting Level VR one.

Floor Plan
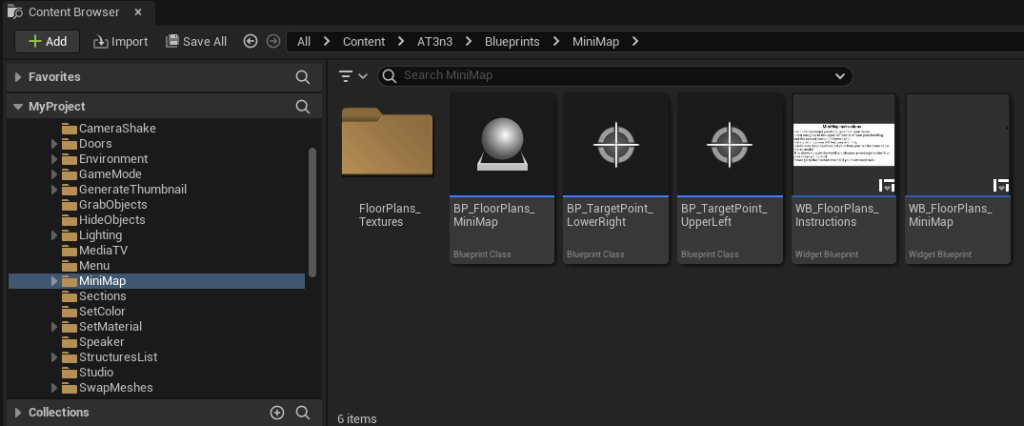
To add a floor plan follow these steps:
- Go into Blueprints/MiniMap and add a BP_FloorPlans_MiniMap to your scene;
- Add the BP_TargetPoint_LowerRight to your lower point in your scene according to your floorplan;
- The same principle applies for placing the BP_TargetPoint_UpperLeft;
- The lower right can be identified by the red arrow, and the upper left by the green arrow;
- Select the floor plan blueprint and add a texture image to floor plan 1;
- Set the screen size you want for your floor plan;
- There’s a widget in the folder with instructions if you get lost.
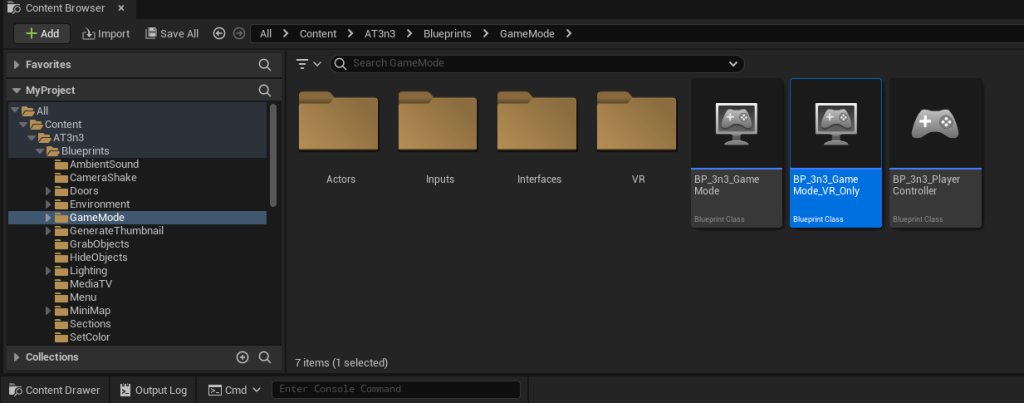
VR Level
For the VR level, you’ll only need to change the game settings to BP_3n3_GameMode_VR_Only and that’ll make this level VR playable.
The Starting Level VR already has everything set for you to get started.
You can delete the NavMesh actors as I managed to not need it anymore.
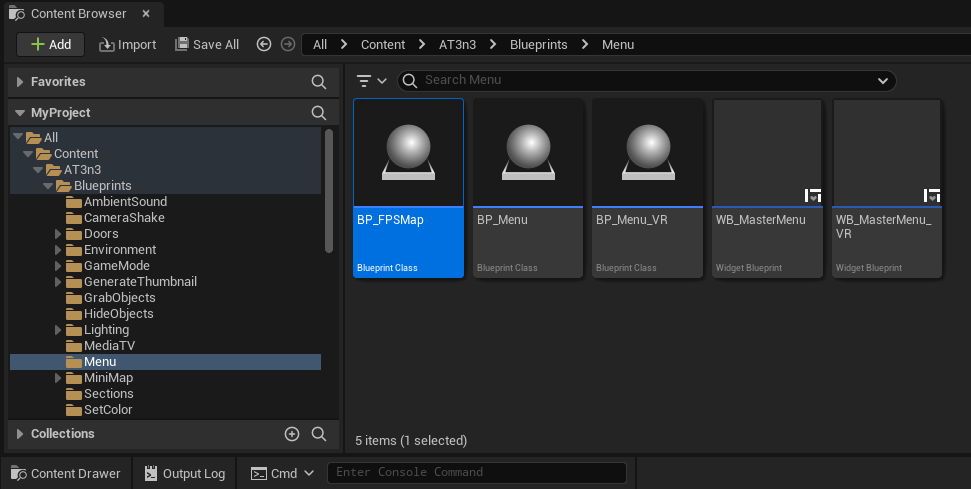
To get back to the menu when exiting, simply add a BP_FPSMap to the scene and select which will be your main level when not in VR.
I’ve separated the levels to allow more flexibility in terms of tweaking the settings to get the best performance.
Setting Your Own Level
If you want to create your own level from scratch and bring all the actors, follow these instructions:
- Create a blank level (Or any level of your choice);
- Bring the BP_Env_SunSky from the blueprints if you want to use it as primary lighting method, otherwise, set the lighting to your liking;
- Go into Blueprints/GameMode/Actors and bring a Drone Character, a Camera, a Section and Top Pawn, also, the North Marker for the compass;
- Drag and drop a menu so we can get access to it and to the taskbar in-game, which allow us to change characters/pawns;
- Finally, add the FloorPlans blueprint if you wish to have floor plans/maps in your scene.
This is all you need to get you started to work on your project.
After this you can explore the following pages: